
Gaming enthusiasts and DIY hobbyists alike revel in the nostalgia and joy that comes with constructing a custom arcade table. At the heart of this endeavor lies the Raspberry Pi 5, a powerful and versatile microcomputer capable of breathing life into your arcade gaming aspirations. This guide is designed to walk you through the nuances of setting up your Raspberry Pi 5, detailing each step from selecting the right operating system to the fine-tuning of software that will run your favorite arcade classics. Beyond the digital aspect, we’ll dive into the tangible world of carpentry and electronics, providing insight into designing and building a robust arcade table that not only houses your Raspberry Pi but also withstands the excitement of gameplay. As we embark on this journey, prepare to blend the realms of computing with physical craftsmanship, ultimately creating an arcade table that’s uniquely yours.
Understanding Raspberry Pi 5 Setup
Raspberry Pi 5: Your Ticket to Nostalgia Lane, Now With Extra Bits!
Hey there, arcade aficionados and retro gaming geeks! If you’re itching to warp back to the ’80s without a DeLorean, buckle up, because the Raspberry Pi 5 is here to pixelate your world with more power-ups than a Mario mushroom fest. Now, let’s level up your arcade gaming experience with a touch of tech wizardry and a dash of dorky charm.
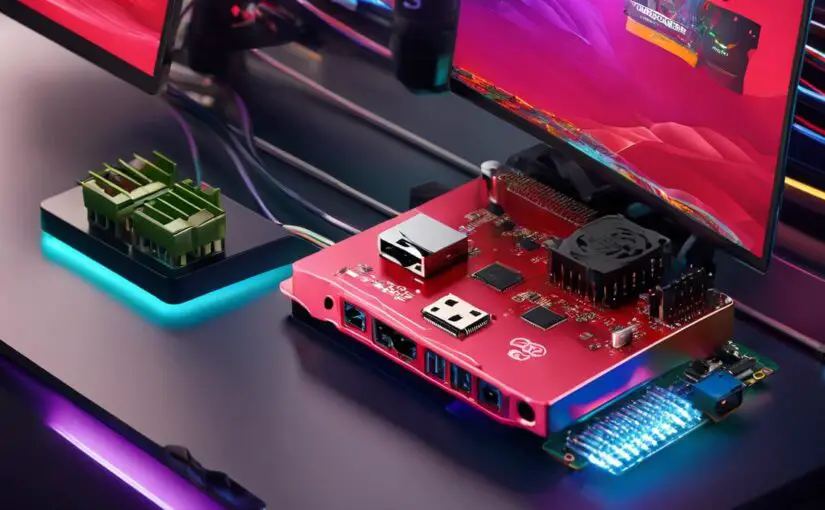
First things first, let’s gear up. You’ll need a Raspberry Pi 5. Yes, the freshest pi(e) straight out of the oven. You’ll also want a microSD card—think of it as the cheese on your raspberry pizza—a solid power supply, a spiffy HDMI cable, and controllers that’ll make you feel like the arcade king or queen you truly are.
Step 1: Flashing lights… I mean, the microSD card.
Before we go-go (no Wham! pun intended), you need the latest OS. RetroPie is the arcade wizard you’re about to befriend. Jump onto their website and download the RetroPie image for the Raspberry Pi 5. Now, grab a program like balenaEtcher to flash the image onto your microSD card. Push the button, drop the beat, watch it flash—it’s like a disco in your computer.
Step 2: A slice of Pi.
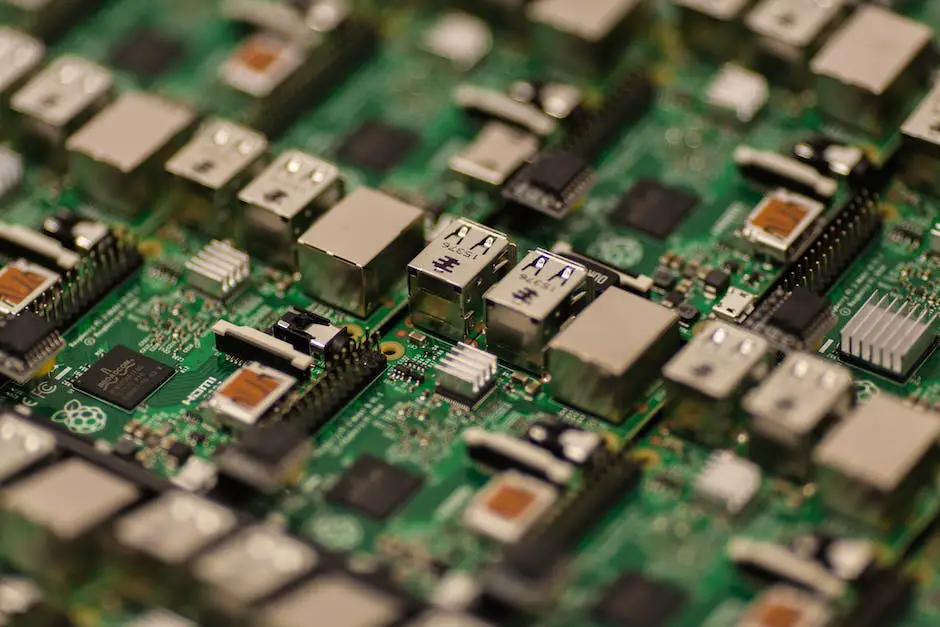
Take your freshly baked microSD card and slide it into the Raspberry Pi’s card slot—just like slotting a coin into an arcade machine. Connect the HDMI, plug in your power supply, and voilà, the LEDs greet you like the start of a high score run.
Step 3: Gamepad gymnastics.
Let’s configure those gamepads. RetroPie is super cool and usually detects controllers faster than you can say “high score.” Follow the on-screen instructions to map out your buttons. If your controller decides to go rogue and hide, dive into the RetroPie setup and manually introduce it to the system. It’s like playing matchmaker, but with gadgets!
Step 4: ROMs on ROMs on ROMs.
It’s game (file) time. Legal disclaimer: Only download games you own, folks—nobody wants a game over because of piracy! Put those ROMs in the right folders. If you feel lost, just remember: finding the correct folder is akin to solving a Zelda puzzle, and you’re Link, armed with a directory.
Step 5: Overclock for the win.
Feeling adventurous? If you crave some extra ‘juice’, overclocking your Pi is like giving it a secret energy drink. Your Raspberry Pi 5 can handle it, but remember to stay within the speed limit—no Raspberry Pi speeding tickets allowed here.
Step 6: Customize that dash.
Take a stroll through the theme park of RetroPie’s settings. Customize it till it feels like your own personal arcade machine that you don’t have to feed quarters. Embrace your creativity—it’s like a Pac-Man maze, but instead of ghosts, it’s full of options and settings.
Step 7: Ready, set, play!
Boom! You’re all set. Your Raspberry Pi 5 arcade machine is ready to rumble. So grab your snacks, nostalgia goggles, and the ghost of high scores past. It’s time to blast off into your gaming utopia.
Remember, the point of configuring your Raspberry Pi for arcade gaming is not just about reliving those neon-colored, pixelated adventures—it’s about creating new memories with a sprinkle of retro love. No quarters were harmed in the making of this gaming console. Game on!
Designing & Building the Arcade Table
Alright, space invaders and Pac-Man pacifists, you’ve got your Raspberry Pi 5 acting more retro than your uncle’s dance moves, but where are you going to park this nostalgia-fueled byte beast? It’s time to level-up from playing hunched over a desk to kickin’ it old-school with a DIY arcade table that’ll make your friends joystick-green with envy. Here’s the how-to high score to do just that:
Measure Up, Level Up
Before you start sawing and swearing, measure twice, cut once – your local arcade hero’s mantra. Decide on your table’s dimensions based on available space, ergonomics, and whether you prefer stand-up comedy or sit-down tragedy gameplay. Just remember, you’ll need enough room to wrestle with those joysticks and house the techy innards.
Design Like Donkey Kong
Sketch out your design with more precision than a Tetris block drop. You’ll want to consider where the screen, joysticks, and buttons will go, and how you’ll access the Raspberry Pi for future updates (because let’s be honest, being wired like an 80’s VCR ain’t cool).
Choose Your Material Fighter
MDF or plywood, it’s your call, just like choosing between Mario or Luigi. If you’re not into making your table resemble Swiss cheese with random screw holes, maybe opt for easy-to-work-with MDF. Choose something sturdy enough to withstand button-smashing frustration.
Screen Saver
When selecting a monitor, old-school CRT or modern LCD? That decision is more polarizing than pineapple on pizza. An LCD will be lighter and less chunky, but purists swear by the warm glow of CRT. Just ensure your table design can hold your screen choice like a koala clutching a tree.
Button Bash with Class
The buttons and joystick layout need to feel as natural as blaming lag for your losses. Ergonomics are the cheat codes here. Position them so you won’t be doing contortionist moves mid-game. Use an existing arcade layout or create a custom one that suits your button-mashing style.
Sound of Silence (Or Not)
Don’t let your arcade table sound like a silent film. Integrate a speaker system that can blast the 8-bit tunes loud and clear. But keep your neighbors in mind – unless you want a real-life version of ‘Angry Birds’ at your window.
Electrifying Escapades
Wiring might seem more tangled than headphone cords in a pocket, but patience is a virtue. Follow diagrams closely, and triple check before powering up. No one wants to see smoke signals from their arcade table.
Fan-tastic Ventilation
These gadgets can get as heated as a debate on the best Star Wars movie. Install a cooling fan or two to keep your hardware chill. Position ventilation where it won’t be blocked by an enthusiastic gamer’s knees or the cat.
Let There Be Light (or Not)
LEDs can light up your arcade table like a Christmas tree, but let’s not blind anyone. Use LED strips in moderation for that arcade ambiance without turning your gaming den into a UFO landing pad.
Reality (Check) Crafting
Remember, your DIY arcade table doesn’t need ‘The Force’ to be with it; it just needs a little love, some elbow grease, and an appreciation for the art of cable management.
There you go, joystick jugglers, a coin-operated odyssey to your very own DIY arcade table. Just remember, like any good video game, the building’s half the fun, and the satisfaction is in the final boss-level of completion. So get out there, grab those tools like they’re power-ups, and build your way to a personal arcade legend that even Q*bert would quit his job for. No summary here – your mission, should you choose to accept it, is clear. Game on, builders!

Arcade Controls Integration
Alright, arcade wizards and Raspberry Pi enthusiasts, let’s level up this digital dojo and connect some arcade controls to that shiny Raspberry Pi 5. We’ve already given the SD card its tenth degree black belt with RetroPie, hooked up the essentials, and made sure those gamepads are ready to throw down. Now, clasps your joysticks, it’s time to solder on!
First up, you’ll need an arcade controller kit, and no, we’re not talking about ninja stars and nunchucks. These kits come with the joystick, buttons, and the crucial USB interface PCB, which is the magic scroll that teaches your Raspberry Pi the ancient ways of “Arcade-Fu.”
Carve out your sacred space in the arcade table, that’s where your joystick and buttons will meditate. Align everything in Zen-like symmetry or whatever layout makes your gamer sense tingle; this is your dojo, after all.
Now, it’s time to get close and personal with some wires. It’s going to look like a cyberspace spaghetti monster, but fear not! Wire the joystick and buttons to the USB controller PCB. Each button gets its own connection, no buddy-buddy stuff here. We practice social distancing—even in wiring.
The USB controller board, your newly found BFF, needs to cozy up with your Raspberry Pi. Establish this newfound friendship by plugging the USB cable into one of its welcoming USB ports. It’s like a digital fist-bump!
Ready the RetroPie software. Navigate like a ninja to the ‘Configure Input’ settings. Here’s where you’ll teach RetroPie about the joystick and buttons by pressing them as instructed. It’s the “wax on, wax off” of button mapping, and it’s sacred.
Fine-tuning time! Dip into the RetroPie menu and tweak the performance of your arcade controls. Flexibility is key, but so is response time because nobody likes a sluggish
shoryuken!
Last up, put your arcade controls to the test. Pick an honorable game (legally acquired ROMs, of course). The USB interface board is the sensei now, and it should translate your physical prowess flawlessly into digital wins.
The cherry blossom finale? No, not a haiku this time, but the sweet, sweet victory of you playing on your Raspberry Pi 5 with your very own arcade controls. Mash those buttons, waggle that joystick, and carve your name into that digital high score table. Who needs a summary when the game is afoot, or rather, at hand?
Happy gaming, and may your code and reflexes be ever bug-free!
Embarking on the road to creating your very own DIY arcade table with a Raspberry Pi 5 is more than just a project; it’s an adventure into the heart of interactive entertainment and personal achievement. Throughout this process, your skills in computing, carpentry, and electronics have fused to give rise to a playable piece of art that echoes the golden days of arcade gaming. With your Raspberry Pi 5 at the core, every press of a button and flip of a joystick connects you to a world of pixels and high scores, all within the comfort of your home. Harness this knowledge, celebrate your new creation, and let the games begin!
Leave a Reply